• Facebook
  • Pinterest
  • Instagram
  • YouTube
  • LinkedIn
  • Skip to secondary menu
  • Skip to main content
  • Skip to primary sidebar
  • Skip to footer

Tina's Dynamic Homeschool Plus

Activity, Change, Progress

  • HOME
  • How to
    • Preschool
    • Kindergarten
    • Elementary
      • Geronimo Stilton Books
    • Middle School
    • High School
      • Science 
  • Planner
  • Lapbooks
    • Trioramas
    • History Games
    • LEGO
  • Shop
  • GET STARTED NOW!
    • Learning Styles
  • 7 Step Planner
    • Free Student Planner
    • Free Home Binder
  • Unit Studies
    • Creation to Ancients
      • Mesopotamia
    • Middle Ages to Reform
    • Exploring to Revolution
    • World Wars to Today
    • Science
  • Curriculum
    • More Unit Studies
    • Geography
    • Writing PreK to 12th
    • Free Art Curriculum
  • BootCamp
    • Resources
      • Ultimate Unit Study Planner

My Unit Studies {Free Printables & Hands-on Ideas}

Hands-On History: Make a Coat of Arms Activity (Middle Ages History)

October 1, 2017 | Leave a Comment
This post may contain affiliate links. For more information, please see my full disclosure policy.

Written by Selena at Look! We’re Learning!

I’m extremely fascinated by the Middle Ages. I know that the reality of that time was far less romantic than novels and films make it seem, but the castles and the jousting tournaments and the costumes are just wonderful to think of.

In those years (and in the years since), royal and noble families have had a coat of arms to show what they’ve accomplished in their history. And, while the coat of arms is often associated with Medieval Europe, it’s actually been used all over the world – from China to Senegal.

To learn more about how these designs were used and passed down through families, we decided to make our own coat of arms! See how you can do the same for a hands-on history lesson!

Hands-On History: Make a Coat of Arms

A coat of arms is a special design made for a distinguished person or family. The design varies, depending on the family’s (or person’s) accomplishments, titles, and positions.

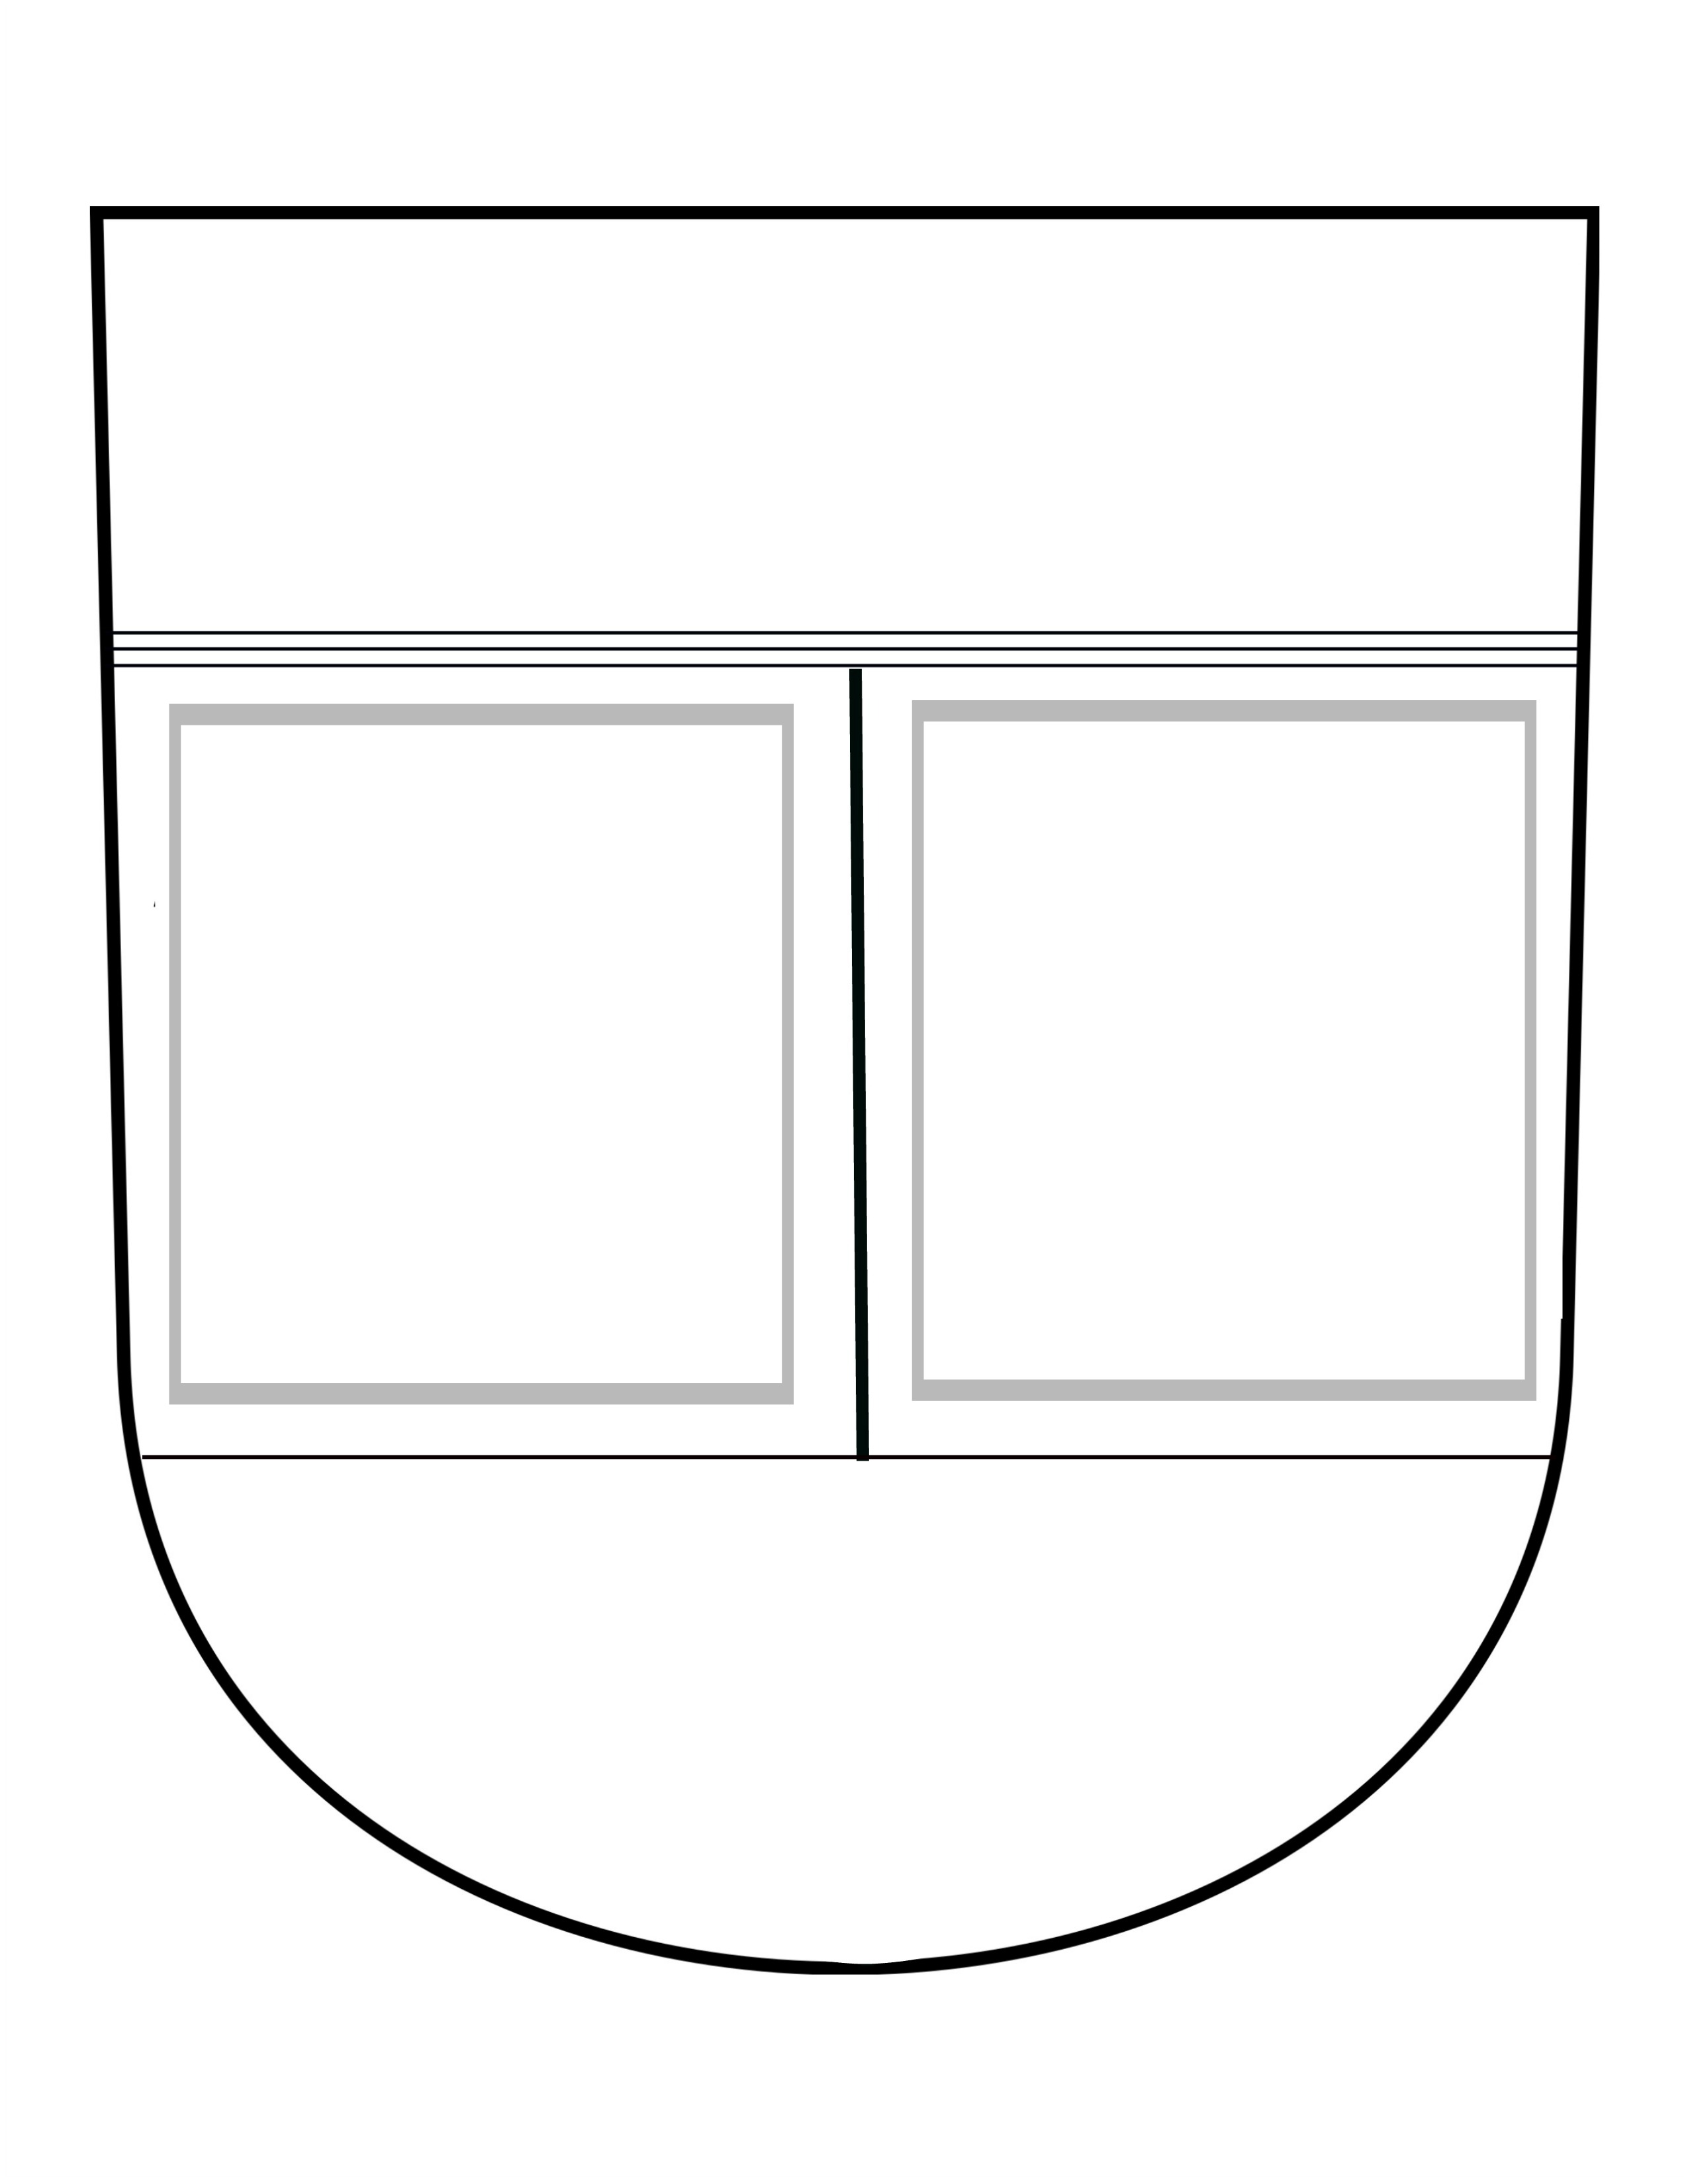
Each part of the coat of arms actually has a name. The top third is called the “field” and the bottom two-thirds is called the “escutcheon”, which is actually a small shield within the larger shield.

Everything on a coat of arms is significant and meaningful. The colors, symbols, choice of animals, patterns, and designs can all denote something different.

The design of a coat of arms can vary greatly, according to family or country. For example, this is the coat of arms of the country of Botswana.

Coat of arms of Botswana

Now compare that one to this one that belongs to the Duke of Westminster.

Coat of Arms of the Duke of Westminster without Order of Garter

There’s a lot going on there, right?

For our coat of arms, we went with a much, much simpler design, but it incorporates some of the significant colors, symbols, and patterns we read about.

To do the activity yourself, you’ll need the following:

  • Printer paper
  • Cardstock
  • Scissors
  • Glue
  • Blank coat of arms printable
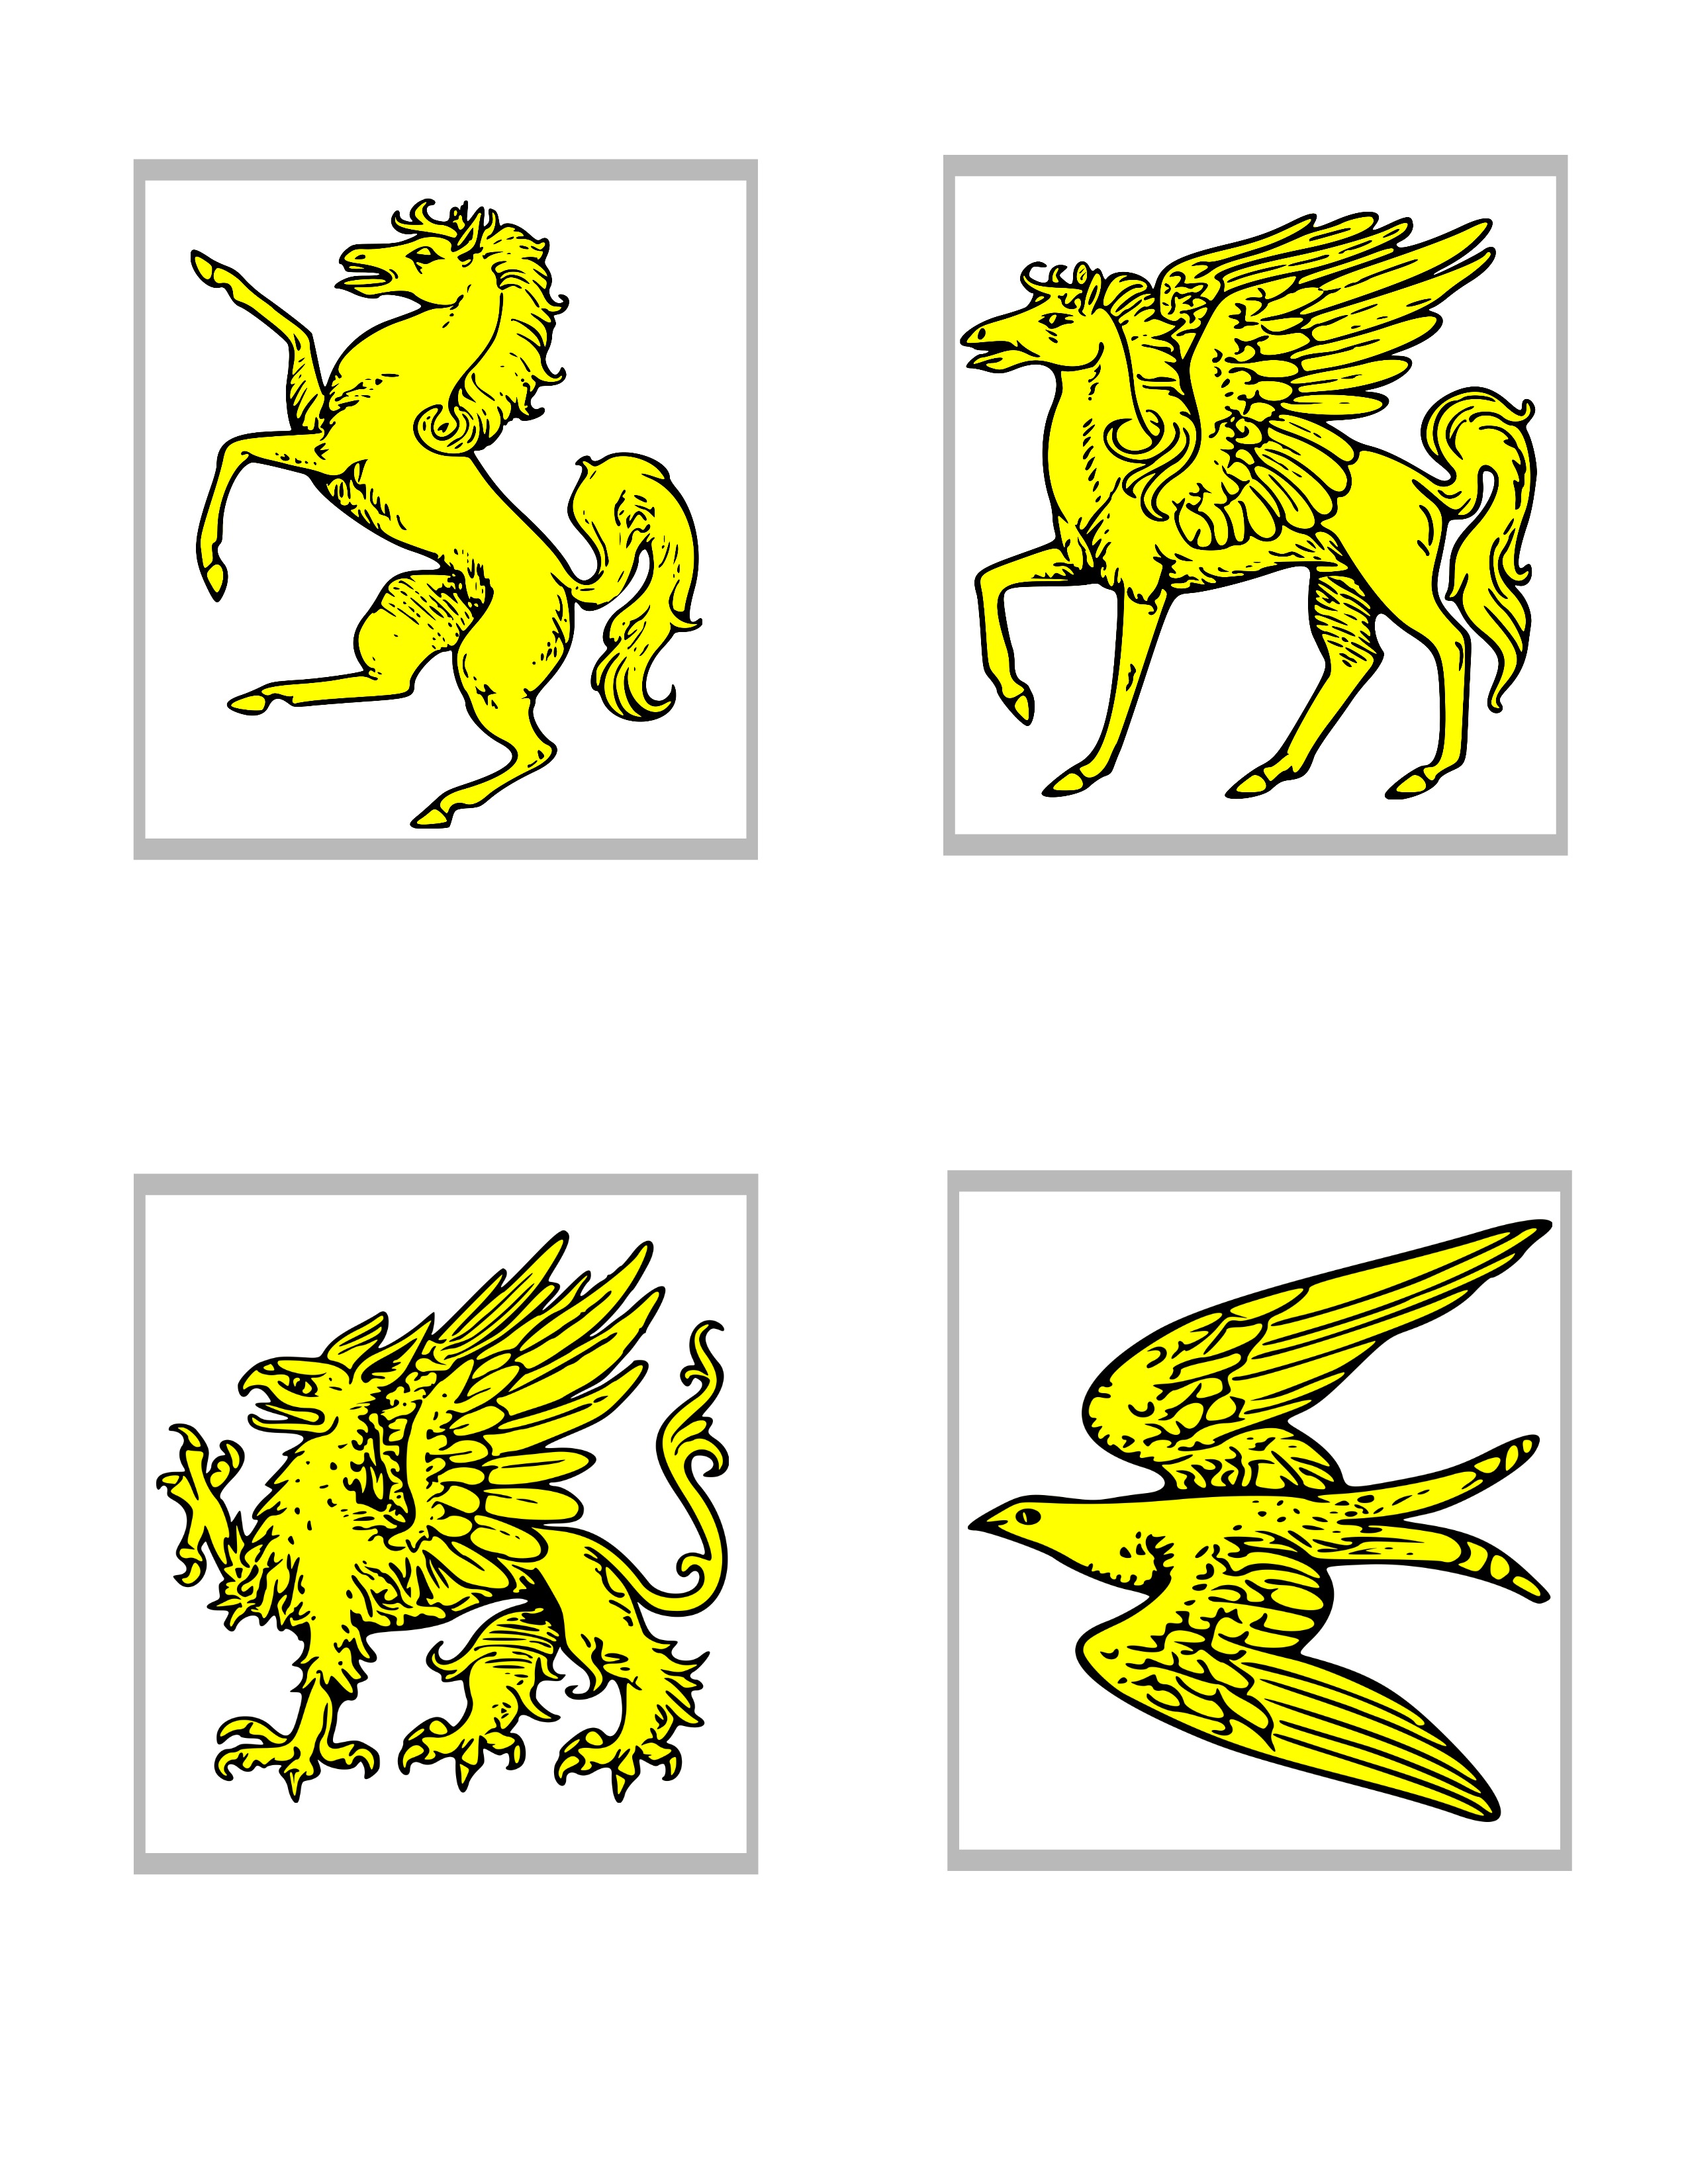
  • Coat of arms animal symbols printable
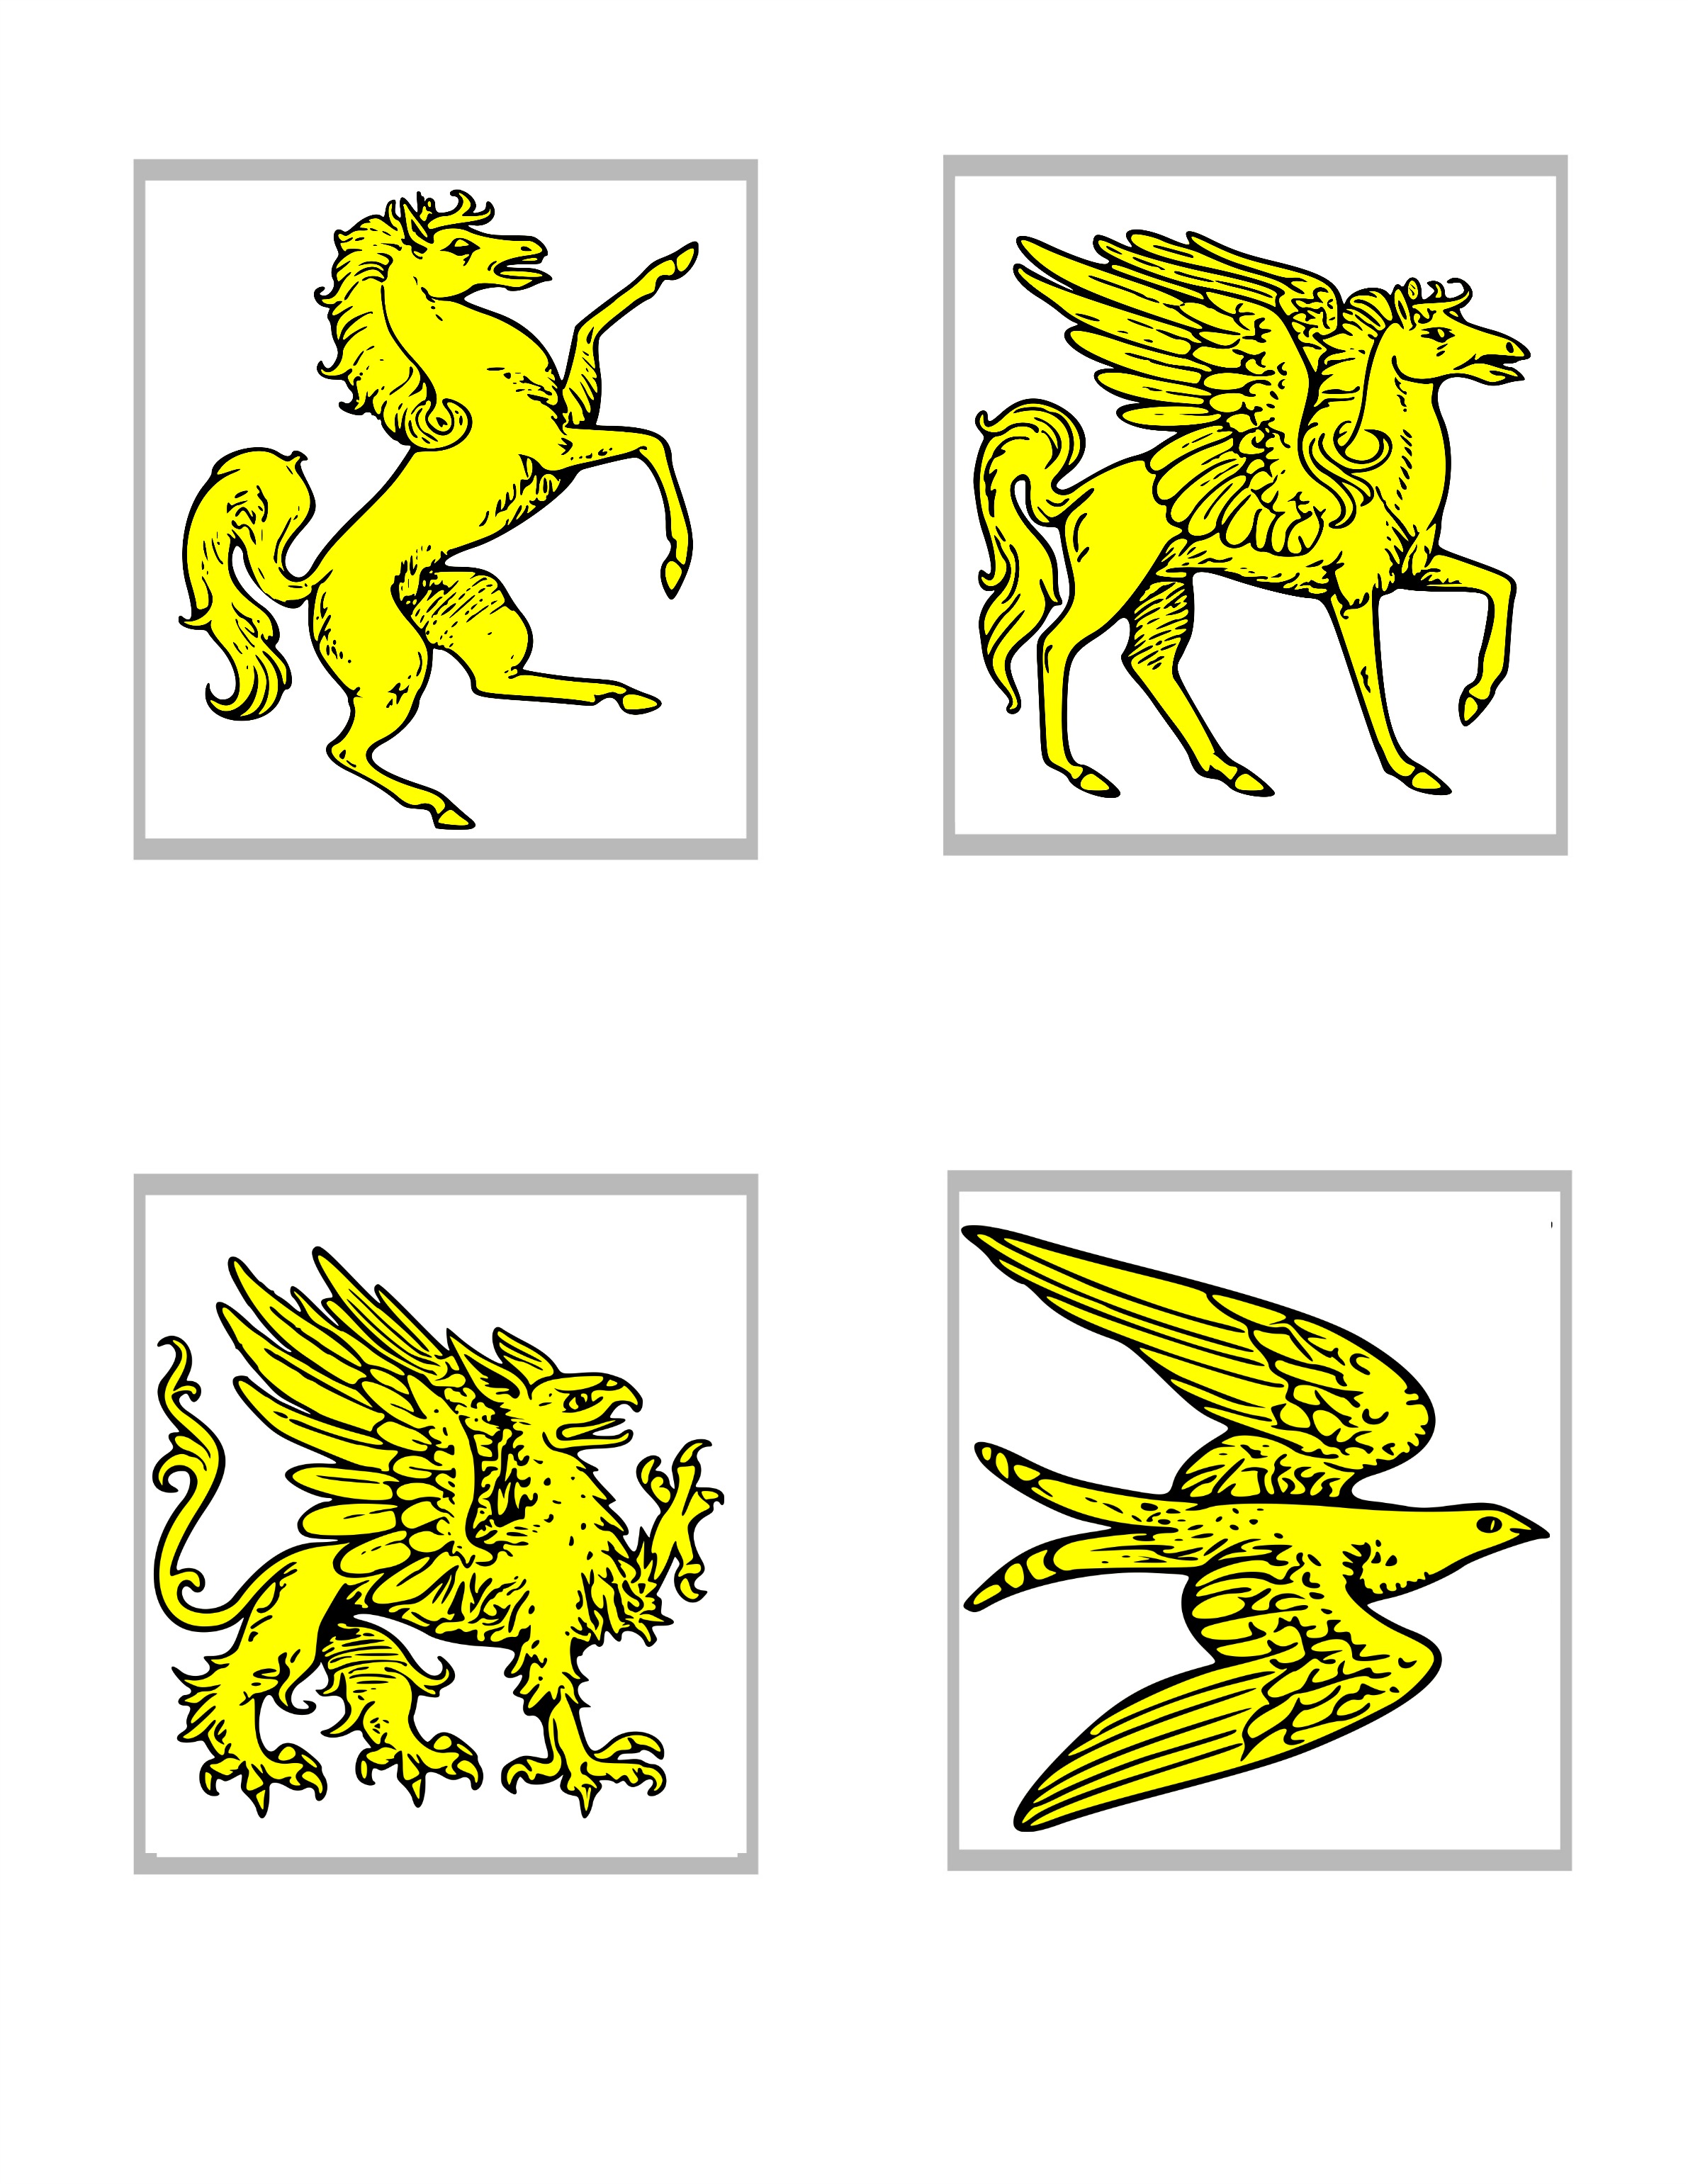
  • Mirror facing coat of arms animal symbols printable
Simple Coat of Arms Activity

Start by printing out the coat of arms and the animal symbols.

Coat of Arms Printable Craft

I didn’t have white cardstock, so I printed ours on a white piece of printer paper and then glued it on the grey cardstock we had. Then we cut it out.

If you have white cardstock, you can skip that step and just print the coat of arms directly on that.

Making a Coat of Arms

Now, it’s time to choose your animal symbols! I only included four in this printable, but there are truly scores of different animals that have been used on coats of arms through the years. And they all have a different meaning.

The animals in the printable mean the following:

  • Griffin – means valor & bravery
  • Pegasus – means poetic genius (as an English major, I had to include that one)
  • Horse – means ready for battle
  • Bird – means peace & affection
Creating a Coat of Arms

Then it was time to choose our coat of arms colors! As we learned, blue means truth & loyalty, so we colored the “field” blue.

Choosing Animals for a Coat of Arms

Then we added our animals.

Choosing Colors for a Coat of Arms

And we surrounded them with orange, which means “worthy ambition & work”. Also because it looked cool.

DIY Coat of Arms Craft

Finally, we learned that furs denoted nobility, so you could add a fur-like pattern to your coat of arms to show that you were of the upper class of society. One of those fur patterns was white with black spots – like a Dalmatian. We went with that.

As I kept looking at it, though, it just didn’t look right. Then it hit me! The animals are supposed to be facing each other!

Finished Coat of Arms Craft

Ahhhh….that’s better! Be sure to print both pages of the animal symbols so that you can choose two animals that will face one another on the coat of arms.

This was so neat to do! We didn’t know that the coat of arms was so full of meaning, so this was a great hands-on lesson to learn about that.

Looking for an easy hands-on middles ages history activity? Your kids will love making their own coat of arms. Scoot by and download the activity at Tina's Dynamic Homeschool Plus!

Check out these other hands-on history projects kids can do!

  • Hands-On History: Make an Egyptian Collar Craft
  • Ancient Rome (Hands-On History): Paint a Jester
  • Free Ancient Egypt Mehen Printable Board Game

Leave a CommentFiled Under: Hands-On Activities, History Based, History Resources Tagged With: hands on history, hands-on, hands-on activities, handson, handsonhomeschooling, history, history resources, medieval homeschool history, middle ages history

Hands-On Geography: Australia Awesome and Deadly Animal Art

September 23, 2017 | 4 Comments
This post may contain affiliate links. For more information, please see my full disclosure policy.

For years now, we have completed “continent studies” and hands-on geography as a way to learn more about our world and it’s geography as we homeschool. Too, look at my page Homeschool Geography for hands-on and simple ideas and tips.

The truth is: it was so much easier to do this when they were younger. I selected books from the library, we looked at the pictures of different dwellings and foods, and we colored in maps.

But my boys are older now. The same approach no longer keeps anyone interested for very long (including me!).

In order to keep them engaged and increasing in their overall level of knowledge, I decided it was time for a change.

This year, my boys are each “in charge” of their own continent for a more in depth study. Each month, they pick a topic to cover from their continent and “teach” each other about it.

My youngest chose Australia for his study this year without a second thought.

For his first presentation, he asked me to help him put together a presentation on Australia’s deadly creatures, because animals and danger – I am not sure I need to say more.

See how we used this hands-on Australia unit to study the continent’s awesome and deadly animals!

Hands-On Australia: Awesome and Deadly Animals

You see, I remember being in middle school. I remember preparing presentations to deliver in front of the class.

I remember listening to my friends. As much stress as it caused, I have to admit, I really learned from “teaching back” activities. I want my boys, despite being in a “classroom” of two, to experience the same.

And that’s why this hands-on activity was such a good way for us to learn about geography together!

What You Need:

  • Black and brown construction paper (one of each color for each animal)
  • Q-tips
  • Washable paints in various colors
  • A white posterboard
  • Printable animal templates: Shark Template, Jellyfish Template, and Snake Template
  • Printable Deadliest Fact Sheet

My son began his research at the library, checking out various books on Australia in general, and a few on the animals themselves. For further investigation, we also watched a YouTube video and looked at various pictures of aboriginal art online.

More Hands-on Australia Activities

  • 9 Australian Animals Art Ideas and Fun Koala Handprint Craft

Then it was time to get started.

Hands-On Australia Activity

Cutting Out Australian Animal Templates

Our first step was cutting out the templates. We then used them to trace animal outlines onto black construction paper.Then we cut out the traced forms of the jellyfish, shark and snake.

Deadly Australian Animal Templates

(Incidentally, if I could do it all over again, I would eliminate the tracing portion and just have my son use the templates to paint. Cutting each animal out twice was far more scissor action than either of us have seen in a long time.)Next, he glued the black deadly creatures onto brown construction paper backdrops.

Decorating Australian Animals with Paint
Making an Australian Animal Display Board

This color scheme is consistent with what we learned about aboriginal art.Taking the q-tips and the paint with us outside, he carefully “dot painted” each of the black forms, true to aboriginal tradition. The Q-tips make perfect paint brushes and are easy to clean up!

Q Tip Painted Australian Snake

The more my son painted, the more excited he became.

Q-tip dot painting is really easy, even for children with fine motor differences or those who get a little perfectionistic with their art projects.

It looks wonderful, even if the artist struggles a bit with steadiness.

Australian Deadly Animals List

When all three had dried, he attached them to the poster board.

Giving a Report about Deadly Australian Animals

At the last minute, he also decided to add a “cheat sheet” with facts he wanted to share about the different animals (printable) as well as a list of Australia’s Top 10 Deadliest as learned from the video and books.Once his presentation was assembled, his brother and I sat down and he taught us more about Australia’s Box Jellyfish than we ever thought possible!

He did a great job and I had a lot of fun working with him on this project.

If you love hands-on geography, your kids will love some of my favorite hands-on geography programs:

Overview of Activity:

Step 1: Trace and cut-out deadly creatures on black construction paper.
Step 2: Attach to brown construction paper background.
Step 3: “Dot paint” black areas with various colors.
Step 4: Create list and fact sheet about Australia’s deadly creatures.
Step 5: Attach all to posterboard and teach what you’ve learned.

Learning about continents is a way to learn more about our world and its geography as we homeschool. This Australia awesome and deadly animal art activity is not only fun but it gives kids a chance to learn about science too. Click here to do this fun activity if you’re doing a unit study about Australia.

Overall, this hands-on activity worked well for us. It incorporated in a different culture’s art and allowed my son to really dive deep into a subject he is already incredibly passionate about. I can’t wait to see what he comes up with next!

Learn more about the countries of the world with the hands-on geography activities below!

  • Switzerland Homeschool Geography Unit Study
  • Learn About the Geography of France By Creating a Solar Oven
  • South America Geography Salt Dough Map

Written by Shawna at Not the Former Things.

4 CommentsFiled Under: Geography, Hands-On Activities, Science, Science Based Tagged With: art, crafts, geography, hands-on, hands-on activities, handson, handsonhomeschooling, homeschoolgeography, science

Cheaper By the Dozen Hands-On Literature: Learn Morse Code!

September 17, 2017 | Leave a Comment
This post may contain affiliate links. For more information, please see my full disclosure policy.

Written by Jen at A Helping Hand Homeschool.

The novel Cheaper by the Dozen by Frank Gilbreth, Jr. and Ernestine Gilbreth Carey chronicles the adventures of the Gilbreth family. This family, as the title implies, had twelve children! They lived in New Jersey in the early 1900s, and they had some interesting times.

The Gilbreth parents were early efficiency experts, which meant that they studied processes and teaching methods used by businesses and found ways to make them better. Father didn’t just do this for a job, though – he tested his theories by teaching his children! Father taught his children everything from sailing a boat to using a typewriter, and some of his “projects” can be used by kids today.

In the 1830s, a man named Samuel F.B. Morse invented both Morse code and the transmitting system used to send and receive it. The code went through some changes before it became the alphabet we know today. Learn how to make this easy hands-on idea! Click here.

One of these involves learning Morse code! See how we turned it into a hands-on literature activity!

Hands-On Literature: Learn Morse Code!

In the 1830s, a man named Samuel F.B. Morse invented both Morse code and the transmitting system used to send and receive it. The code went through some changes before it became the alphabet we know today, but it has been in use for over 170 years. Originally, the receiving machine recorded the “dots” and “dashes” on a paper tape, kind of like an adding machine today.

Soon, though, operators became skilled enough to translate it by ear and just wrote down the message as it came through.

Today, we don’t use Morse code nearly as much as they did in the 1800s. It is still used among amateur radio operators though, and military pilots were required to know it up until the 1990s.

It’s a really fun and easy “language” to learn though, and it’s useful for a lot of things. It’s also really fun to be able to use a “secret code!”

To do this activity, you will need:

  • 3 or more sheets of posterboard – white or light color works best
  • Permanent markers – 4 different colors
  • Cardstock “tags” (found in the scrapbook section of a craft store) or notecards – approximately 40
  • 1” book ring or twine, string, or yarn
  • A journal or notebook
Morse Code Project Supplies

The first step to learning an alphabet like Morse code is to become familiar with it. In Cheaper by the Dozen, Father taught this code to his children (all of them!) over summer vacation. They complained that they didn’t want to study in the summer, so he promised them they wouldn’t have to.

Instead, he made it almost impossible for them not to learn it!

In order to give his children a constant but easy study tool, he grabbed a can of paint and started in the bathroom. He painted the Morse Code alphabet and mnemonic devices all over the walls! Then, he started in on the hallway, the porch, and the other rooms in their summer cottage.

Needless to say, the kids learned it quickly!

Now, I don’t recommend you paint your walls with Morse code, but you can achieve the same result with posterboard and some permanent markers. (I used four different colors: one for the English letter, one for vowels, one for consonants, and one for numbers.)

Morse Code Alphabet-Numbers Poster
Morse Code Alphabet-Numbers Closeup

This way, your child has an easy reference to work with!

However, we also made a pocket version of this reference, a Decoder Booklet. Now, your child has their own decoder that is easy to carry around and use. We used cardstock “tags” that I purchased in the scrapbook section of my local craft store, but you could just as easily use notecards.

To make the booklet, I used one tag for each letter. I wrote the English letter on one side and the Morse code on the other, so it works like a flash card. For the Morse code letters and numbers, I used the same colors as on the poster.

Morse Code Booklet
Morse Code Decoder Booklet

With this Decoder Booklet, it’s easy to take a few minutes throughout the day to self-quiz and to do different activities. We had fun doing spelling homework in Morse code – it requires your child to both think through the spelling word and the code!

Once you and your kids have a handle on Morse code, it’s fun to write messages back and forth! Father and his children did this each day during the summer. He often left them clues to treats and prizes, but occasionally he used the messages to prank them!

Morse Code Journal

Using a journal or a notebook, you and your kids can leave messages for each other – and respond – in Morse code. It’s really fun, and it helps you to learn and use Morse code much more easily!

Additional Morse Code Learning Resources:

Here are some fun and useful resources that you may want to add to this activity:

  • Learning Morse Code Patterns – If you have an auditory learner in the house, this video is a simple but effective way to learn the patterns for Morse code. It also teaches the phonetic military alphabet!
  • English to Morse Code Learning – This video lesson gives both auditory and visual cues to help connect the Morse code with the English letter.

Learn even more ways to make literature hands-on and fun for your kids!

  • Shakespeare Unit Study Starters
  • Homeschool High School Literature Guides
  • 7 Budget-Friendly Language Arts Curriculum to Pair with Unit Studies
In the 1830s, a man named Samuel F.B. Morse invented both Morse code and the transmitting system used to send and receive it. The code went through some changes before it became the alphabet we know today. Learn how to make this easy hands-on idea! Click here.

Leave a CommentFiled Under: Hands-On Activities, My Unit Studies {Free Printables & Hands-on Ideas} Tagged With: hands-on, hands-on activities, handson, handsonhomeschooling, homeschoolanguagearts, language arts, literature

Middle Ages Hands-on History: Make a Codex Activity

September 11, 2017 | 2 Comments
This post may contain affiliate links. For more information, please see my full disclosure policy.

Written by Selena of Look! We’re Learning!

I am a huge bookworm. HUGE. If I was left alone on a desert island with a choice between food or books, I’d have to make myself choose the food. That’s just how much I love to read.

As we started studying the Middle Ages, we learned a lot about the beginning of the publishing industry, to which what we owe our modern-day books. It turns out that present-day paper books began with the invention of the codex, the first truly portable written document.

After finding out how codices were made in the Middle Ages, we decided to make one of our own!

Middle Ages History: Make a Codex Activity

The codex was actually invented during the Roman Empire, centuries before the Middle Ages began. Prior to its creation, most important documents, such as literature, speeches, and journals, were kept on scrolls or pieces of parchment.

Since these methods were so bulky, something more convenient was needed, especially for documents that needed to be transported across long distances. Some historians say that Julius Caesar was the first person to develop the idea of a notebook of folded and bound pages, but there is some uncertainty about this.

Either way, the codex (folding pages into small packets and then sewing them into a bound book) quickly became the standard for publishing and distributing literature. In fact, if you look behind the spine of a thick book, you’ll see the individual packets of paper sewn together that make up the book. This is basically a codex in itself.

To make our codex, we decided to focus on a codex from the Middle Ages: The Peterborough Chronicle. This document, which dates back to the 12th century, chronicles the establishment of the British Empire.

Make a Codex Activity Supplies

To make your own codex, you’ll need the following supplies:

  • Pieces of blank unlined paper
  • Yarn needle
  • Seam ripper (or X-Acto knife) *Be sure to use adult supervision when working with sharp objects.*
  • Bulky yarn
  • Ruler
  • Pencil
  • Chisel-point marker
How to Make a Codex with Kids

Begin by folding the pages in half. You’ll want to make several packets of three to four pages. For our codex, we folded six packets of three pages each.

Pricking a Codex Activity

We used a seam ripper to begin punching holes in the first packet. After a few holes, though, we swapped it out for an X-Acto knife, which worked better. If you have an awl, that would probably work even better.

Pricked Codex Pages

We lined up the packets to draw the holes and then punched them in the same spots to make sure the holes would line up for sewing the codex together. Interestingly, when publishers created codices, they also had to make the paper sewing holes by hand. This process was called “pricking”.

Sewing a Codex Activity

Now it’s time to sew the codex together. Thread the yarn through the eye of the yarn needle and insert the needle into the first sewing hole through all the codex packets.

Hands-on Middle Ages History

Sewing a Codex Together

After pulling the needle all the way through, bring the yarn back around and thread the needle through again to secure the first stitch. Then move down to the next pricked hole in the codex.

Stitching a Codex Together

Stitch in this same manner all the way down the side of the codex.

Binding Off a Codex

When you get to the end, pull the yarn back through the last stitch vertically.

Finishing a DIY Codex

Cut the thread to bind off the sewing. Do the same at the top.

Ruling a Codex Page

You’re ready to add writing to your codex now! In the Middle Ages, it was common to line the pages of a codex with ink to make it easier for scribes to write neatly. Just like ruled notebook paper we have today!

Use a ruler and a pencil to draw writing lines on your codex pages. Be sure to leave space for the first letter of the work to be about three lines in length.

Writing On a Codex

Like so. The first page of the Peterborough Chronicle is written in Old English, which looks very different than modern English. Thankfully, the content has been translated. That was the source material for our codex.

Finished Codex Activity

Use a chisel-tip marker to write in your codex and you’re done!

This would be a great extended activity for history! Let the kids find a historical codex and write a paragraph or two from it each day! You could even include pieces from several codices and let the kids discover the kinds of content that would have been considered valuable enough to publish in this manner centuries ago.

As we started studying the Middle Ages, we learned a lot about the beginning of the publishing industry, to which what we owe our modern-day books. Click here to learn how to make this fun codex!

You’ll also love to read about How to Teach History in 14 Lessons (From Daunting to Doable) and Medieval Homeschool History – 4 Surefire Ways to Beat a Boring Study.

Learn more about the Middle Ages with these activities!

  • Medieval History for Homeschool Middle School
  • Christopher Columbus Lapbook Covers
  • Marco Polo Unit Study and Lapbook

2 CommentsFiled Under: Hands-On Activities, History Based, History Resources, My Unit Studies {Free Printables & Hands-on Ideas} Tagged With: hands on history, hands-on, hands-on activities, handson, handsonhomeschooling, history, history resources, homeschoolhistory, medieval homeschool history, middle ages history, renaissance

5 Simple Ways to Enhance a Homeschool Unit Study

August 1, 2017 | Leave a Comment
This post may contain affiliate links. For more information, please see my full disclosure policy.

Unit studies can be intimidating. The same things that make unit studies captivating can be the same things that make them tough to teach. Sharing 5 simple ways to enhance a homeschool unit study, I’m hoping that you won’t be afraid to take the plunge and try a unit study or two.

Unit studies can be intimidating. The same things that make unit studies captivating can be the same things that make them tough to teach. Sharing 5 simple ways to enhance a homeschool unit study, I'm hoping that you won't be afraid to take the plunge and try a unit study or two.

Do You Struggle with Homeschool Unit Studies?

One/ Always include a simple hands-on activity or two.

I use to be very judgmental and critical of homeschoolers (I know, doesn’t sound like me at all does it) who did a lot of hands-on activities until I started actually teaching.

What I learned along the way was that activities don’t have to be expensive or time-consuming to have a wow factor.

What is more important is that hands-on learning brings your topic alive and those are the teaching points your kids remember for life.

I’ve tried to do simple things through my many years of homeschooling.

Two/  Include living books.

Sometimes you can pull information from a textbook.

I’ve done it several times because that is what I had on hand and there was no need to purchase something else.

Look at how I did that at From Textbook to Homeschool Unit Study Starter.

However, if you’re wanting the best ways to enhance a unit study, living books beat the boring blahs when it comes to introducing or learning a unit study.

We love using the books by Beautiful Feet, but we also love using reference books.

Though some can be dry, we find they still have a story like appeal which is the hallmark of living books.

Look at my tips at my post Day 3. Selecting Superior Sub-Topics. 10 Days of Diving Into Unit Studies By Creating A Unit Study Together.

Are Your Unit Studies Boring Your Kids to Sleep?

Three/ Use movies as part of your unit study or as a kick starter.

Many times, I’ve used a documentary, musical, or movie to kick off a unit study. It adds flavor to a time period especially if it’s a history related topic.

Not all kids have good imaginations for a past time period. A movie has a way of adding facts about a time period without a child having to slave over period details.

Look at my post Homeschool History Teaching Ancient Civilizations Using Netflix.

Four/ Include just one or two other homeschool families.

You don’t have to join a co-op if you want to cover topics specifically geared toward your kids.

By homeschooling with another family, you still add the element of fun that is found in a co-op, share the lesson planning with another homeschool mom but still control what you want to teach.

Plus, it was great to see my kids interact with another homeschool educator. We did a study about the Vikings with another family and between the two of us, we had so many ideas for our kids.

Some of our best times were by including another homeschool family or two.

Five/ One of the best ways is to focus on one subtopic within your unit study or enhance it with a focused subtopic.

A huge mistake in unit studies is covering way too much material.

But too another point is not being able to hone in one of the subtopics in a unit study.

Whether you purchase a unit study or find one that is free, a problem has always been that you’re not able to cover a subtopic deeply within a theme which interests your kids.

Today, I’m over the top excited to announce a new series which will be in my shop and that is Unit Study Enhancers.

What exactly are they? Well they are printables (minibooks and/or notebooking pages) to use for those times when you can’t find a unit study which hones in specifically on a subtopic that you want to cover.

My unit study enhancers will enhance your teaching points.

It’s meant to bring up close a subtopic or topic that you want to highlight within a theme.

Add them to a notebook, lapbook, use with a workbook or include them as a subtopic in a free or purchased unit study because the printables are not a complete unit study, but enhance one.

Too, by giving you options within the product download, they are designed to relieve teacher prep time and to use with multiple ages of children. For instance, some downloads have simple researched printed material to glue onto pages. This allows you to move forward teaching when your time is limited.

Or, you can have your student research his own information and write it in. Where possible, I give one link or more for reference while using the printables.

Unless a topic is specifically geared toward young learners, quality photos and not babyish images are chosen so that older learners can be engaged.

Color and the highest quality graphics I can find are used to diminish the blah of boring printables.

My first Unit Study Enhancer focuses on one of my biggest free unit studies here on my blog and that is The Amazon Rain Forest. The Unit Study Enhancer is about the temperate rain forest. You can read more about it here at my shop.

But you can download it today for only $2.25.

  • Temperate Rain Forest Unit Study Enhancer (4 Printables)

    Temperate Rain Forest Unit Study Enhancer (4 Printables)

    $1.25
    Add to cart

Also, look at my tips at my series 10 Days of Diving Into Unit Studies by Creating a Unit Study Together.

Hugs and love ya,

Don’t forget to follow BOTH of my Pinterest accounts for AWESOME pins.

Visit Tina Robertson’s profile on Pinterest.


Visit Tinas Dynamic Homeschool ‘s profile on Pinterest.

Leave a CommentFiled Under: Do Unit Studies, Science, Science Based, Teach Unit Studies Tagged With: amazon rain forest, homeschool, life science, notebooking, printable, science

  • « Go to Previous Page
  • Page 1
  • Interim pages omitted …
  • Page 24
  • Page 25
  • Page 26
  • Page 27
  • Page 28
  • Interim pages omitted …
  • Page 48
  • Go to Next Page »

Primary Sidebar

Footer

Privacy Policy | About Me | Reviews | Contact | Advertise

Categories

Archives

Tina Robertson is a participant in the Amazon Services LLC Associates Program, an affiliate advertising program designed to provide a means for sites to earn advertising fees by advertising and linking to amazon.com. As an Amazon Associate, I earn from qualifying purchases.

Copyright © 2026 · 5 TNT LLC · Log in · Privacy Policy